In this article
- The Three Layers of Kitchen Lighting
- Map Your Work Zones Before the Ceiling
- Recessed Light Spacing in a Kitchen
- Pendants, Under-Cabinet Lights and Sconces
- Controls and Dimmer Zones
- Daylight, Heat and Moisture
- Common Kitchen Lighting Layout Mistakes
- Why Timing Matters More Than Fixtures
- How Mr Build Plans and Builds Your Kitchen Lighting
A good kitchen lighting layout is task-first: put light directly over every place you work (counters, sink, range and island), then add ambient light to fill the room and accent light for depth, each on its own dimmer. If you start with a neat ceiling grid instead, you usually end up with plenty of fixtures and counters still sitting in your own shadow.
This guide covers the three layers, how to map work zones, recessed light spacing, pendant height, under-cabinet options, controls and the California energy code points your contractor will handle. It ends with the timing issue that causes most lighting rework: decisions made after the cabinets are already in.
The Three Layers of Kitchen Lighting
Every kitchen that is pleasant to work in has three layers working together.
- Task lighting puts light where your hands are: under-cabinet strips over counters, pendants or downlights over the island, and a directed light over the sink and range. This is the layer people skip most often and miss most.
- Ambient lighting lets you move through the room safely. It usually comes from recessed downlights or a flush ceiling fixture, and occasionally a chandelier in a large open space.
- Accent lighting adds depth: toe-kick strips, lights inside glass-front cabinets, a strip under open shelves or along the top of tall cabinets.
Some fixtures do two jobs. Island pendants are task and accent at once, and a range hood light is task light that also fills the cooking area. The risk with decorative pendants is choosing a style that throws most of its light sideways and leaves the counter under-lit, so check the fixture's downward output, not just its look.
Keep one color temperature
Mixing a warm 2700K pendant with 4000K downlights makes a kitchen look uneven. Pick one range, usually 2700K to 3000K for a warm residential feel, and hold it across every layer, including under-cabinet strips. Also check the color rendering index (CRI): 90 or higher makes food, wood and stone look natural.
Map Your Work Zones Before the Ceiling
A task-first kitchen lighting plan starts with where you stand, not where the ceiling joists are. We walk homeowners through this before an electrician touches a wire.
- Mark every place you work. Prep counters, the sink, the range, a coffee station, a baking counter, the end of the island where you really chop. Stand in each spot as if you were working.
- Put task light directly over each spot. Counters get under-cabinet light along their full length. Islands get pendants or a row of downlights centered over the counter, not over the walkway beside it. The range and sink each get a dedicated light, because a hood light alone is rarely enough.
- Add ambient fill. Space recessed lights so they wash the front of the counters and the cabinet faces, not just the floor in the middle of the room.
- Add accent lighting last, then group everything into switch and dimmer zones.
Dark cabinets and dark stone absorb a lot of light. In those kitchens, plan more output or tighter spacing than the same layout would need in a white kitchen.
Recessed Light Spacing in a Kitchen
A workable rule of thumb: divide the ceiling height by two to get the spacing in feet. An 8-foot ceiling gets downlights about 4 feet apart; a 10-foot ceiling can go closer to 5 feet. Treat it as a starting point, then adjust for the beam spread and output of the fixtures you actually choose.
Distance from the wall matters as much as distance between lights. Center the rows over the front edge of the counter, often about 24 to 36 inches from the wall depending on cabinet depth. Light then lands in front of you instead of behind you, and your body does not cast a shadow on the cutting board.
- Soffits: lights in a soffit above wall cabinets have to sit close enough to the cabinet face to light the counter below.
- Sloped ceilings: use trims made for sloped ceilings so the beam points down, not off at an angle.
- Adjustable (gimbal) trims: useful when a fixture has to aim toward a sink or range that is not centered on the ceiling layout.
- Fixed trims: fine for general fill over open floor.
Before the plan is final, check it against the framing. A joist, beam, duct or plumbing vent above the ceiling can block the exact spot you wanted, which is why fixture locations should be confirmed on site after demolition.
Pendants, Under-Cabinet Lights and Sconces
Pendant height and spacing
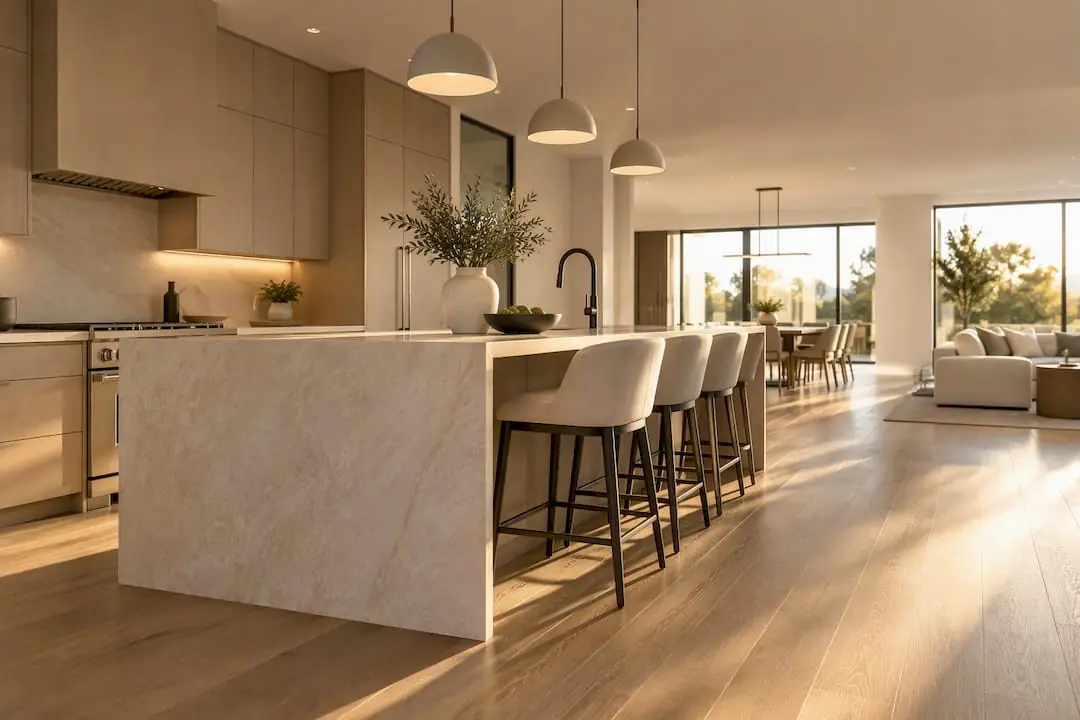
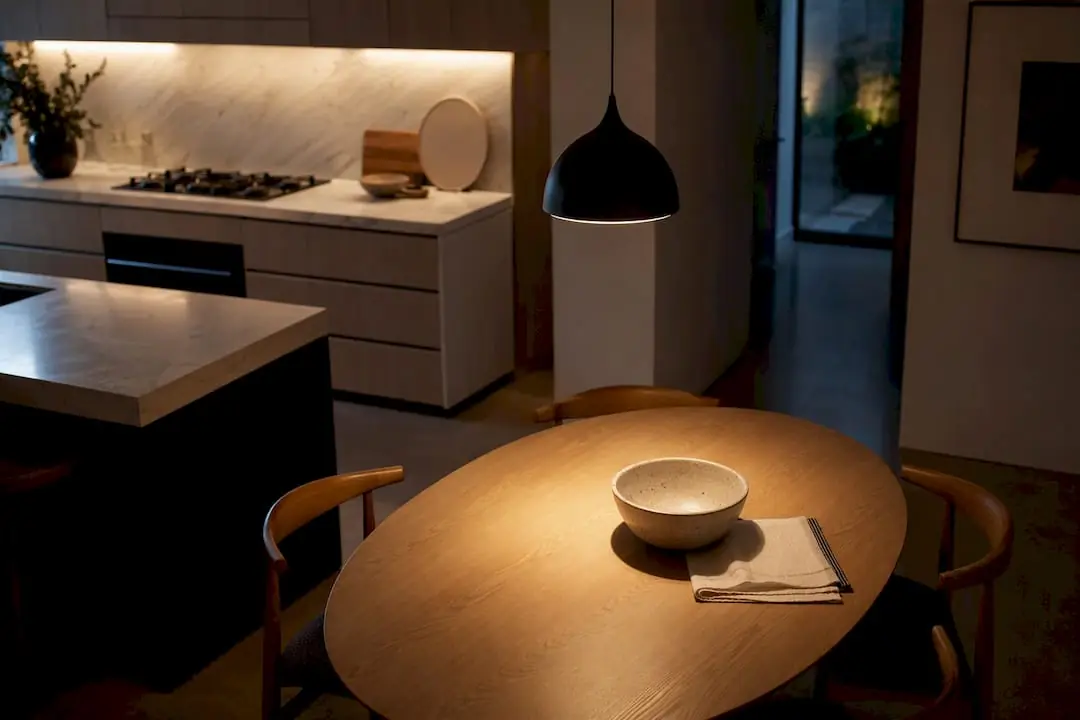
Hang island pendants so the bottom of the fixture is about 30 to 36 inches above the countertop. Measure from the counter, not the floor. If tall people sit at the island, or the pendants block the view to a family room, go toward the top of that range.
Scale follows island length. A long island needs either several evenly spaced pendants or fewer, larger ones; one small pendant over a 9-foot island looks lost and lights only the middle. Two pendants usually suit an island up to about 6 or 7 feet, and three suit a longer one. Keep the end fixtures in from the edges so they light counter, not floor.
Under-cabinet lighting options
Under-cabinet lighting is often the single biggest improvement in how a kitchen works, because it puts light right on the counter with nothing between it and your hands.
- LED tape or strip in a channel: even light along the full counter, with a diffuser to hide the dots. Best choice for most remodels.
- Linear LED bars: nearly as even, simpler to install and replace.
- Puck lights: easy to add but create bright spots with dark gaps between them.
- Hardwired or plug-in: during a remodel, hardwire it to a wall switch or dimmer. Plug-in kits are a fallback when you are not opening walls.
Mount the strip toward the front of the cabinet bottom so the light hits the counter instead of glaring off a shiny backsplash.
Sconces and the dining spot
Sconces work well on either side of a window over the sink or over open shelving. A breakfast table or nook needs its own fixture centered over the table, at about the same height above the tabletop as island pendants, on its own dimmer so you can dim the table for dinner without dimming the counters.
Controls and Dimmer Zones
Each layer should be switched and dimmed separately. If ambient, task and accent all run off one switch, there was no point in layering them. A practical setup:
- Ambient: dimmer at the main entry for the recessed lights
- Task: switch or dimmer near the main work area for under-cabinet and range lighting
- Island and table pendants: their own dimmer
- Accent: low-level dimmer, a timer or a sensor for toe-kick and cabinet lights
Make sure every dimmer is rated for LED loads and compatible with the fixture drivers. A mismatched dimmer causes flicker, buzzing and shortened driver life, and it is one of the most common callbacks electricians deal with. Smart dimmers can store scenes, such as bright for cooking and low for dinner, without a wall full of switches.
California energy code basics
In California, permitted kitchen lighting work has to meet the state energy code, Title 24 Part 6. In practice that means high-efficacy fixtures (LED in nearly every case), dimmers or vacancy sensors on most lighting, specific requirements for recessed downlights in insulated ceilings, and separate switching for lighting built into cabinets. The details change with each code cycle, so your contractor and electrician should confirm current requirements; the California Energy Commission publishes the standards. Our post on the California energy code for remodels explains when it applies.
Daylight, Heat and Moisture
Note where windows and skylights fall relative to your work zones, but design the electric lighting for nighttime. A sink under a window looks bright at noon and needs its own fixture at 7 p.m. A skylight over the island adds nothing after dark, so size the pendants or downlights as if it were not there.
Kitchens are hot and wet. A fixture directly over the sink, or anywhere splashes are likely, should carry a damp-location rating at least. Fixtures and LED strips near the range should be rated for the heat they will see, and under-cabinet strips right beside a cooktop last longer with some distance from the heat plume.
Common Kitchen Lighting Layout Mistakes
- A ceiling grid doing every job. Fix: add under-cabinet light and dedicated fixtures over the island, sink and range, then fill in.
- Downlights in the middle of the floor. Fix: move the rows over the counter edge.
- Pendants sized after the island. Fix: measure the island first, then choose pendant count and size.
- Mixed color temperatures. Fix: specify one Kelvin value for every fixture and strip.
- One switch for everything. Fix: separate dimmable zones from the start; adding them later often means opening walls.
- Late decisions. Fix: lock fixture locations before cabinets are ordered.
Why Timing Matters More Than Fixtures
Lighting decisions have to happen before cabinets go in. Junction box locations for pendants, wiring for under-cabinet strips and switch locations are all set during rough electrical, which happens before drywall. Once cabinets are installed, moving a pendant box or adding a strip circuit means patching ceilings and walls.
On site, the issues we see most are pendant boxes that do not line up with the final island position, soffits nobody accounted for and framing that blocks a planned fixture. Coordinating the electrical plan with the cabinet drawings, and checking both after demolition, keeps those from becoming change orders. For a broader picture of how rough-in fits into the schedule, see our kitchen remodel timeline.
How Mr Build Plans and Builds Your Kitchen Lighting
Mr Build handles lighting as part of the full kitchen design, not as an add-on at the end. Fixture locations are drawn with the cabinet layout, the permit set covers the electrical plan and energy code requirements, and your project manager confirms box locations on site before drywall closes. You get it all in one fixed, written scope.
See our kitchen remodeling service, or how we work on kitchen remodeling in West Hollywood. When you are ready, book a free on-site consultation and we will walk your kitchen and talk through a lighting plan with you.
Sources and further reading
- Lumens’ lighting guide the-edit.lumens.com
- myhomepros.com: kitchen lighting guide myhomepros.com
- House Beautiful’s lighting formula guide housebeautiful.com