In this article
A construction punch list is a written list of everything that is unfinished, damaged or not built to the contract at the end of a project: a cabinet door that does not close evenly, a missing outlet cover, a paint scuff, a slow drain. The contractor fixes each item, you verify it, and the project is complete. On most remodels, the final payment is tied to finishing the punch list, which is why it deserves careful attention.
This guide explains when the punch list happens, what belongs on it, how to write useful items, how it connects to final payment and how to finish it quickly. A copy-ready template is near the end.
What Is a Construction Punch List?
The punch list records the gap between "nearly done" and "done." Some builders call it a snag list or a deficiency list. Whatever the name, it is the same document: a list of specific items the contractor agrees to correct before the job is closed out.
Each item should be actionable, not just noted. A usable item includes:
- Location: the room and the exact spot, such as "primary bath, left of vanity"
- Description: plain language, specific enough that anyone could find and fix it
- Responsible trade: painter, tile setter, electrician and so on
- Status: open, in progress or verified complete
- Photo: the issue, and later the fix
Written this way, a punch list closes in days. Written as "fix paint in hallway," it can drag on for weeks.
When the Punch List Happens
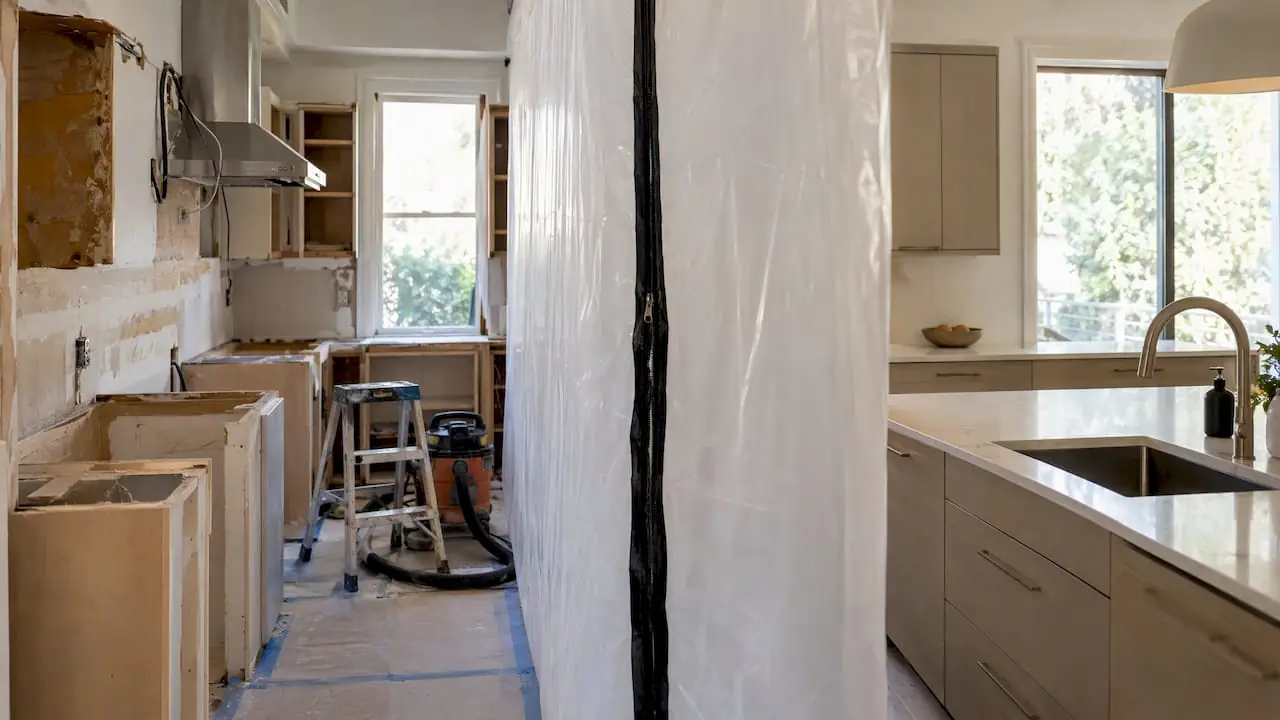
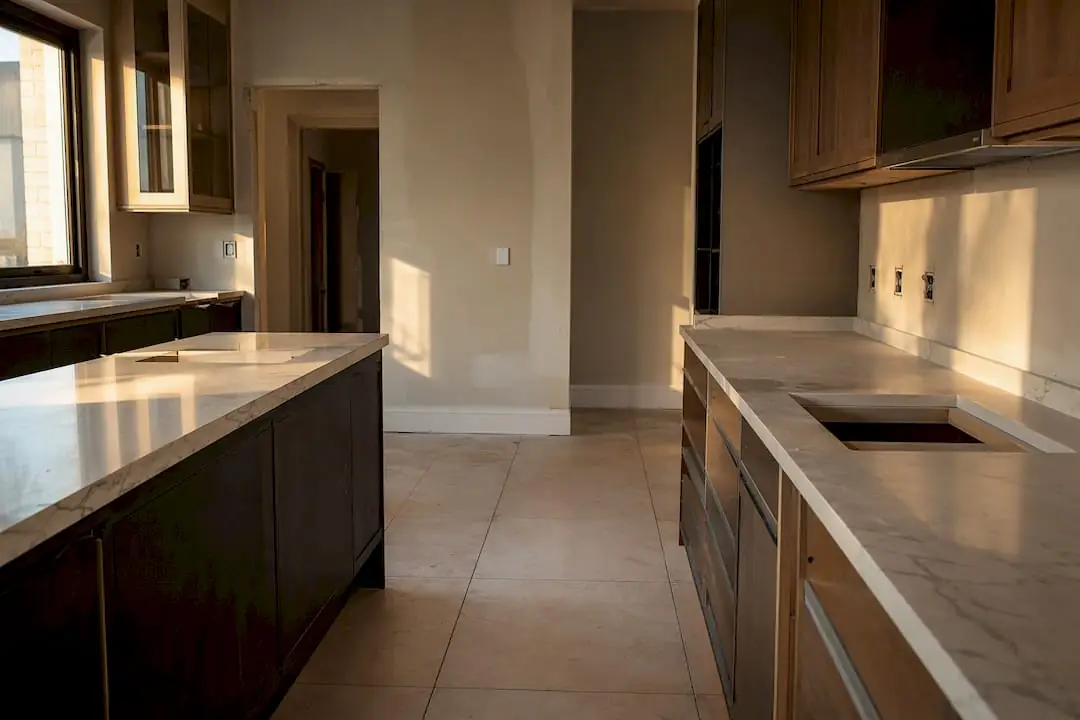
The punch list is created when the project is substantially complete, meaning the space is usable for its purpose even though small items remain. The kitchen works, the bathroom has running water and fixtures, the ADU could be lived in. At that point, the remaining items are details, and it makes sense to list them all at once.
A typical sequence:
- Contractor pre-punch. The project manager walks the work first and fixes obvious items before you see it.
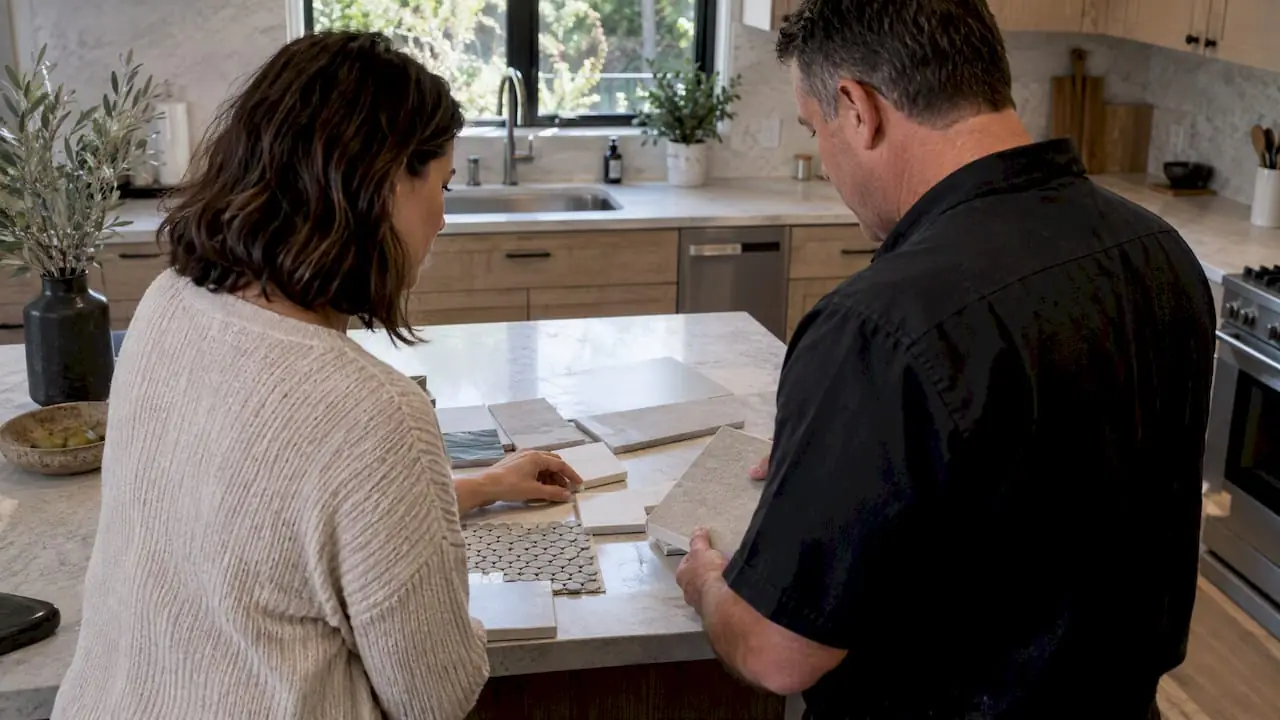
- Homeowner walkthrough. You and the project manager walk the project together, room by room, and build the official list.
- Corrections. Trades return in a planned order to fix their items.
- Verification. You and the project manager check each item and mark it complete.
- Sign-off and final payment. Once the list is closed, you sign off, final paperwork is handed over and the final payment is made.
Punch list vs. final inspection
The punch list and the city's final inspection are different things. The inspector confirms code compliance and closes the permit. The punch list covers quality and completeness: paint, alignment, finishes and function. You need both. Our article on the final inspection for a remodel explains what the inspector checks.
Common Punch List Items
Every trade leaves its own kind of item. These show up on almost every remodel:
- Paint touch-ups, drips, roller marks and missed spots on trim
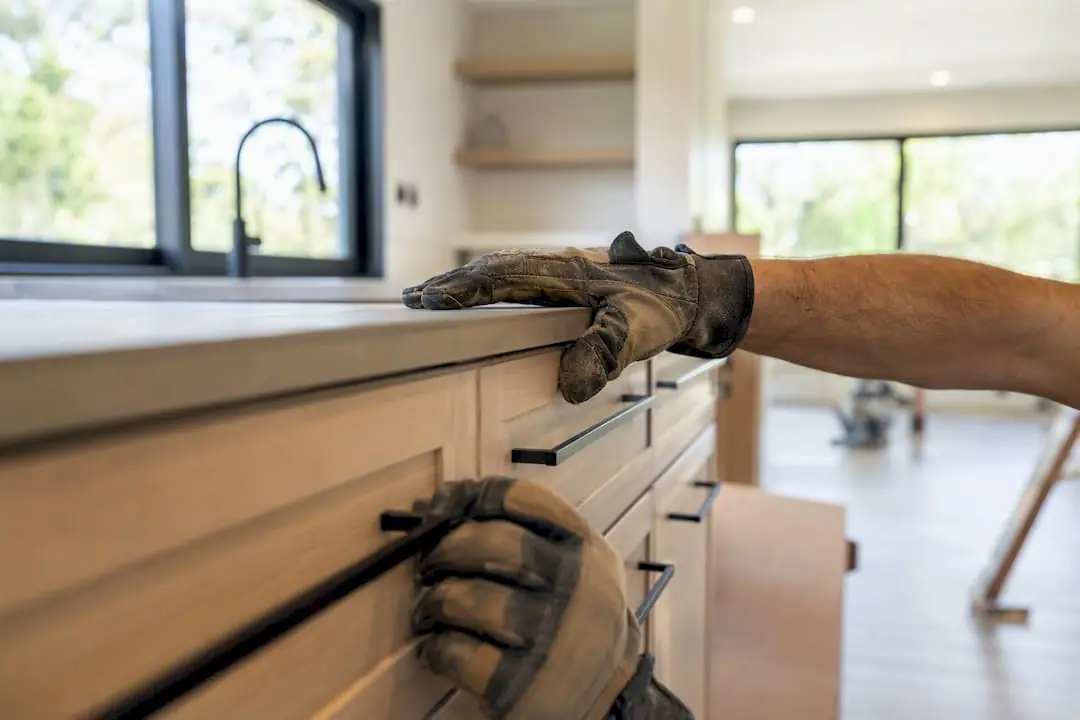
- Doors and cabinet doors that rub, swing open or do not align
- Drawers that do not close fully or soft-close hardware that is not adjusted
- Caulk gaps at counters, tubs, backsplashes and trim
- Grout haze, gaps or color inconsistency
- Missing outlet covers, switch plates or light trims
- Faucets that drip, drains that run slow, toilets that run
- Scratches or chips on counters, appliances, windows or flooring
- Unlabeled circuits in the electrical panel
- Exterior items such as missing flashing, gaps in siding or poor drainage at a new patio
Sort items by impact
Group items by how much they matter, not just by trade:
- Safety: exposed wiring, loose railings, unsecured fixtures. These get fixed first.
- Function: a door that will not latch, a vent blowing the wrong way, a leaking trap.
- Cosmetic: paint drips, a scuffed baseboard, uneven grout lines.
A well-written item looks like this: "Guest bath, tub surround, north wall: grout gap at the second row above the tub. Tile setter. Photo attached. Target: next tile visit." Nobody needs a follow-up call to understand it.
How to Do a Good Punch List Walkthrough
Schedule the walkthrough in daylight, with the lights on and the space cleaned, so you can see surfaces clearly. Bring:
- A charged phone for photos
- Blue painter's tape to mark small spots
- The plans, selections list and any change orders
- A flashlight to rake light across walls and floors
Work in one direction through the house. In each room, look high to low: ceiling, walls, trim, doors and windows, cabinets, counters, fixtures, floors. Then test things. Open every door and drawer, run every faucet and shower, flush toilets, switch every light and fan, check the GFCI outlets and run appliances that were installed.
Compare finished work to what you approved, not to what you might prefer now. If the tile is the approved tile, set correctly, a change of heart is a change order, not a punch item.
Punch Lists, Final Payment and Change Orders
On most home remodels, the last payment is due when the work is complete, which in practice means when the punch list is closed. That gives both sides a clear finish line. In California, payments on a home improvement contract should not get ahead of the work actually completed, so a payment schedule that leaves a meaningful final amount for completion is normal and healthy.
Three rules keep this fair:
- The punch list is not a place for new scope. Anything beyond the contract, such as an extra outlet or a different paint color, needs a written change order with a price.
- Withhold only what is reasonable. If a single back-ordered part is all that remains, agree on a fair amount to hold back for that item instead of holding the entire final payment.
- Collect paperwork before the final check. Ask for the final permit sign-off, warranty and care information for products, and lien releases from the contractor and major suppliers. Our guide to lien waivers in California explains which forms to get.
If a disagreement comes up, keep it factual: refer to the contract, the drawings and the photos, and put your concern in writing.
How to Finish a Punch List Quickly
The fastest closeouts share a few habits:
- Run a rolling list. Note issues throughout the project, while each trade is still on site, so the final list is short.
- Write one master list. One shared document, not texts scattered across three phones.
- Send each trade only its items. A painter will act faster on a five-item list than on a fifty-item list mixed with other trades.
- Schedule trades in order. Repairs that create dust or need paint touch-ups afterward go first; final cleaning goes last.
- Set target dates. Agree on a date for each item when the list is written, not later.
- Verify in person. Mark an item complete only after you have both looked at it.
Give the crew room to work. A daily check-in is useful near the end; standing over a painter's shoulder is not.
A Simple Punch List Template
A spreadsheet or shared document works well for a home remodel. Use these columns:
| # | Location | Description | Trade | Priority | Target date | Status | Verified (initials, date) |
|---|---|---|---|---|---|---|---|
| 1 | Kitchen, sink base | Drawer front misaligned 1/8 inch with door above | Cabinets | Cosmetic | Next cabinet visit | Open | |
| 2 | Primary bath, shower | Slow drain; water pools near valve wall | Plumbing | Function | Within 3 days | In progress | |
| 3 | Hall, stair | Handrail bracket loose at top | Carpentry | Safety | Next day | Complete | JR, 10/14 |
Attach a photo to each line. Add items as they are found, update status as work is done, and keep the list until the project is closed.
Spreadsheet or app?
For a single kitchen, bathroom or ADU, a spreadsheet or a shared note with photos is enough. Construction apps help when a project has many trades and dozens of items, because they attach photos, filter by trade and send reminders. The tool matters less than the habit of writing specific items and verifying each one.
After the Punch List Is Closed
Closing the punch list is not quite the end. Before the crew leaves for good, gather the paperwork you will need for years:
- The finaled permit and inspection records
- Product manuals, care instructions and manufacturer warranty registrations for appliances, fixtures and equipment
- Paint colors, tile names, grout colors and dye lots, plus any spare tile and paint
- As-built notes on where plumbing, electrical and shutoffs ended up
Store it with your contract and change orders. If something needs attention later, a clear record makes the fix faster and the conversation simpler.
How Mr Build Handles the Punch List
Final Walkthrough is the fifth step in the Mr Build process. Your dedicated project manager walks the work with you, records every item with its location and photo, schedules the trades to correct them and verifies each fix with you before the project is closed. Because the scope and selections were fixed in writing at the start, it is clear which items are corrections and which would be new work.
See how this fits into our complete home remodeling projects, or our work as a home remodeling company in Newport Beach. To plan a project with a clean finish, schedule a free on-site consultation.
Sources and further reading
- retainage release and warranty timelines to its resolution learn.aiacontracts.com
- Documenting each item this way blog.constructiononline.com
- Final Completion means every contract requirement is met autodesk.com
- Continual verification throughout construction reduces the final item count planuppro.com
- contractors are typically entitled to payment for completed work minus an estimated cost to finish the punch list legalclarity.org
- Anything that adds to what the contract drawings originally specified needs a formal change order pschwabe.com