


If you’re re-tiling a bathroom, add an electric radiant mat underneath. For most single-bathroom remodels, it’s the best balance of comfort and cost, and installing it while the floor is already open keeps labor costs low. Ask your tile contractor whether they install mats and get an electrician’s quote for a dedicated circuit before you finalize your budget.
TL;DR:
- Electric mats are recommended for most bathroom remodels due to faster installation, easier coordination with tile and electrical work, and cost efficiency for single rooms.
- Costs for electric radiant systems range from about $8 to $20 per square foot, totaling $700 to $2,500 for common bathroom sizes, with hydronic systems generally being more expensive upfront.
- Tile and natural stone are ideal for radiant floors because of their high heat conductivity, while engineered wood and vinyl need manufacturer approval and temperature caps.
- Installation timing matters: best results occur when the floor is already being replaced, minimizing additional labor and avoiding retrofitting costs.
- Operating costs are typically $15 to $40 per month for four to eight hours of daily use, with longer-term savings favoring hydronic systems only in whole-home applications.
Table of Contents
- What Does Radiant Floor Heating Cost in a Bathroom?
- Electric vs. Hydronic: Which System Fits Your Bathroom?
- Is Radiant Floor Heating Worth It for a Bathroom?
- Which Flooring Materials Work Best With Radiant Heat?
- How Is a Bathroom Radiant Floor Actually Installed?
- What Does Radiant Heat Actually Cost to Run Each Month?
- What Should Homeowners Watch for Before Signing a Contract?
- Why We Default to Electric Mats During Tile Retrofits
- Ready to Add Radiant Heat to Your Bathroom Remodel?
- Sources
What Does Radiant Floor Heating Cost in a Bathroom?
The number that matters most is the marginal cost, not the sticker price. A heated bathroom floor typically runs $600 to $4,600 installed, with an average near $1,800, and electric systems commonly land between $8 and $20 per square foot depending on the mat, thermostat, and flooring you choose. That’s a wide range because the variables stack up fast.
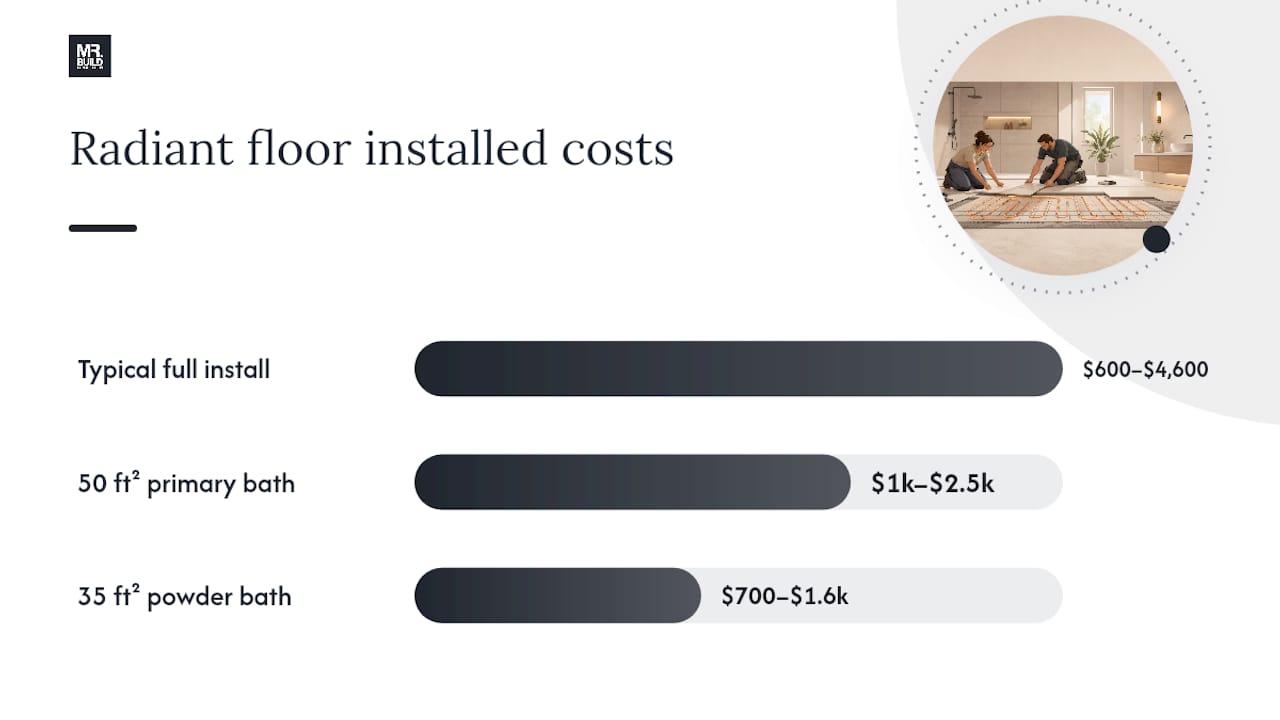
For a 50 square foot primary bathroom, expect somewhere between $1,000 and $2,500 for a complete electric mat installation, thermostat included. A smaller 35 square foot powder bath or secondary bath often lands closer to $700 to $1,600. Hydronic systems, which circulate hot water through PEX tubing, cost considerably more upfront because of the boiler tie-in and plumbing labor, and they rarely pencil out for a single room.
What actually drives your quote up or down:
- Flooring material. Tile and stone install directly over most mats with minimal fuss; engineered wood or LVP may require thicker underlayment or a different mat spacing.
- Subfloor condition. Cracked or uneven subfloors need leveling compound before the mat goes down, which adds labor.
- Electrical hookup. Running a new dedicated circuit from the panel costs more if your panel is far from the bathroom or already near capacity.
- Thermostat model. A basic programmable thermostat costs less than a Wi-Fi model with app control and multiple sensor zones.
- Permits. Most jurisdictions require an electrical permit for a new circuit, which adds a modest fee and inspection step.
The single biggest lever you control is timing. Installing radiant heat when the floor is already being replaced means the demo, subfloor prep, and tile labor are already happening. You’re only adding the mat, sensor, and thermostat wiring, not tearing out a finished floor to retrofit heat later. That timing difference alone often determines whether radiant heat feels like a smart add or an expensive afterthought.
Electric vs. Hydronic: Which System Fits Your Bathroom?
Electric systems come in two forms: pre-spaced mats with the heating cable already woven into a mesh backing, and loose cable you lay out yourself in a custom pattern. Mats install faster and give more even heat across a standard rectangular bathroom, which is why contractors recommend them for the vast majority of bathroom projects. Loose cable makes more sense for irregular layouts, like a bathroom with a jog around a tub deck.
Hydronic systems circulate heated water through tubing connected to a boiler or water heater. They run cheaper per hour at scale and shine in whole-home applications, but the upfront cost of tying into a boiler system usually makes them impractical for one bathroom.
- Electric mat: Fastest install, needs an electrician, best for single-bath remodels.
- Electric loose cable: More flexible layout, slightly longer install time.
- Hydronic PEX: Lower running cost long-term, needs a plumber and boiler access, best for new construction or whole-home retrofits.
Pro Tip: If you’re only heating one bathroom and don’t already have a boiler-based heating system, electric almost always wins on total cost. Save hydronic for a full-home renovation where the plumbing infrastructure is already being reworked.
Is Radiant Floor Heating Worth It for a Bathroom?
Floor-surface warmth registers differently than room air temperature. A floor sitting at 80°F feels noticeably warmer underfoot than an 80°F room feels on your skin, because direct contact transfers heat faster than air does. That’s why a heated floor can make a bathroom feel comfortable even when the thermostat for the rest of the house sits several degrees lower.
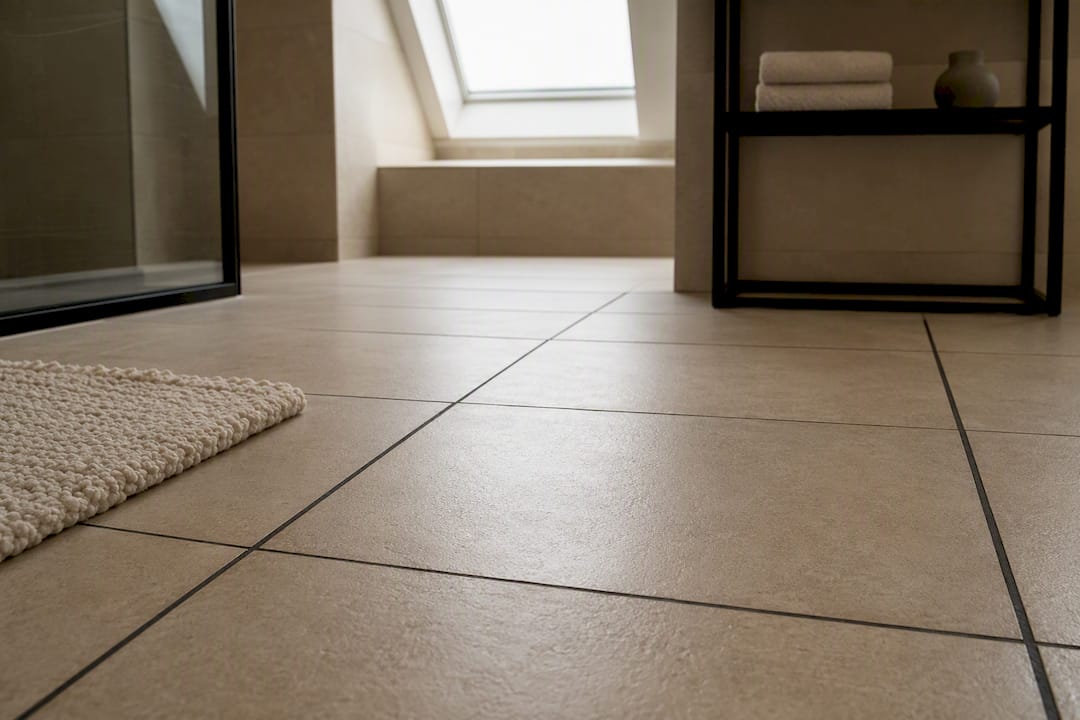
The return depends heavily on how the bathroom gets used. A primary bathroom used daily, especially in a home without a heat pump or in a cooler climate, sees the most value from radiant heat. A guest bathroom used a few times a month is a harder case to justify.
Running costs stay modest when you schedule smart. A small bathroom running the system four hours a day typically costs $15 to $25 per month at typical electricity rates. If budget is tight, a space heater or upgraded exhaust fan with a heat lamp covers basic warmth for less upfront, though neither delivers the same even, all-over comfort as a heated floor.
Which Flooring Materials Work Best With Radiant Heat?
Tile and natural stone are the gold standard for radiant floors because they conduct heat efficiently and transfer it evenly across the surface. That efficiency is exactly why bathrooms, which are tiled far more often than any other room, pair so naturally with radiant systems.
Engineered wood and luxury vinyl plank can work, but only when the manufacturer explicitly rates the product for radiant heating. Surface temperatures for these materials are usually capped at a safe maximum temperature for heat-sensitive surfaces, well below what tile can handle, to prevent warping, delamination, or discoloration.
- Tile and natural stone: best conductivity, no temperature restrictions beyond standard system limits.
- LVP and engineered wood: manufacturer approval required, capped surface temperature.
- Solid hardwood: generally avoided in bathrooms regardless of heat, due to moisture exposure.
- Carpet or cork: poor heat transfer, rarely used with radiant systems.
Adding a layer of rigid foam insulation beneath the heating mat, especially over a slab or unheated crawlspace, cuts warm-up time and pushes more heat upward into the room instead of down into the subfloor.
How Is a Bathroom Radiant Floor Actually Installed?
The sequence matters as much as the product you choose. Here’s how it typically runs during a bathroom remodel:
- Demo the existing floor down to a clean, level subfloor.
- Measure the heated area, excluding the footprint of the tub, vanity, and toilet flange since you only heat usable walking surface, not the full room.
- Install a spare sensor conduit alongside the primary sensor wire so a backup sensor can be pulled through later if the first one ever fails.
- Lay the mat or cable according to the measured layout, then test cable resistance before any tile goes down.
- Run electrical rough-in, tying the system into a dedicated circuit, which is where your electrician’s scope begins.
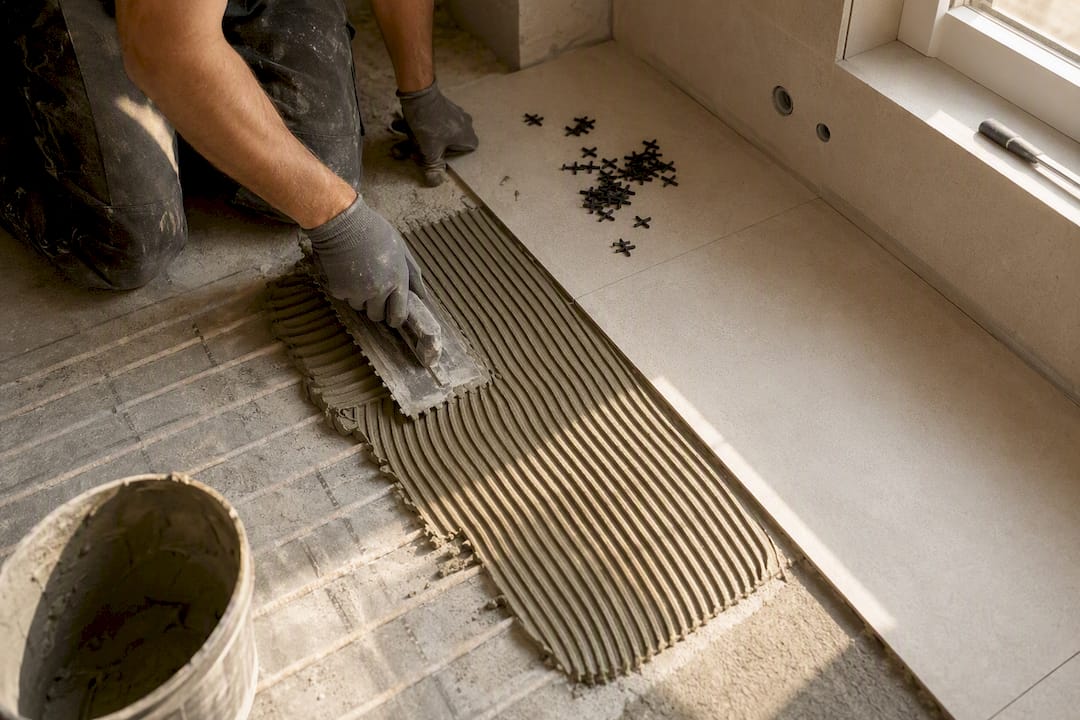
- Set tile over the heating element using appropriate thin-set, keeping full coverage under the cable to avoid air pockets.
- Test resistance again after tile is set and let everything cure fully before power-up.
- Commission the system, confirming thermostat function and sensor accuracy before final handoff.
An electrician handles the circuit and thermostat wiring, a tile setter handles the mat placement and thin-set, and in hydronic setups a plumber ties the tubing into your water heater or boiler. Coordinating those three trades on the same timeline is where a lot of DIY projects stall.
Pro Tip: Never power on a new radiant system until the thin-set has fully cured. Testing too early can create hot spots that damage the tile bond before it’s had time to set.
What Does Radiant Heat Actually Cost to Run Each Month?
Electric radiant floors draw roughly 0.03 to 0.05 kWh per square foot per hour. That’s a small number on paper, but it adds up depending on how large your heated area is and how many hours a day it runs.
Running the thermostat on a pre-warm schedule, roughly 30 to 45 minutes before you need it, instead of leaving it on all day, keeps both perceived lag and total energy use low.
| Bathroom Size | Daily Run Time | Estimated Monthly Cost |
|---|---|---|
| 35 sq ft | 4 hours | $15–$25 |
| 50 sq ft | 4 hours | $20 |
| 50 sq ft | 8 hours (all-day) | $40 |
Hydronic systems cost less per hour to run once installed, since they’re often tied to a more efficient central heat source, but that advantage rarely offsets the higher installation cost for a single bathroom. Insulating beneath the mat and zoning the thermostat to only the walking area, rather than heating under cabinetry, delivers the most efficiency gain for the least added cost.
What Should Homeowners Watch for Before Signing a Contract?
Electric systems require a dedicated, GFCI-protected circuit and a floor-sensing thermostat. Most jurisdictions require a permit for that new circuit, so confirm your contractor is pulling one rather than skipping the paperwork to save time.
A few mistakes show up often enough to watch for specifically:
- Heating cable run underneath the tub or vanity footprint, which wastes material and risks damage during future fixture work.
- Thin-set applied without full coverage under the cable, leaving air gaps that create hot spots or cable failure.
- No resistance testing at layout, pre-tile, and post-tile stages, which leaves no record if a cable gets damaged.
- No spare sensor conduit, making a failed sensor nearly impossible to replace without cutting tile.
A properly itemized quote should separate mat and thermostat cost, electrical labor, tile labor, and permit fees, so you can see exactly where your money is going rather than one lump “heated floor” line item.
Why We Default to Electric Mats During Tile Retrofits
Mr Build Co. recommends electric mats for nearly every single-bathroom remodel we take on, and the reasoning comes down to coordination as much as cost. When your tile setter, electrician, and general contractor are already scheduled for a floor replacement, adding a mat is a small scope change. Retrofitting heat into a finished floor later means tearing that floor back out.
Our process locks in the heated area and fixture exclusions before demo starts, runs resistance tests at each installation stage, and always includes a spare sensor conduit so a future sensor failure never means cutting into finished tile. That upfront scope work is what prevents callbacks after handoff.
— David S.
Ready to Add Radiant Heat to Your Bathroom Remodel?
If you’ve been comparing DIY mat kits or piecing together separate contractors for the electrical, tile, and plumbing work, coordinating all three yourself is where most radiant heat projects lose time and money. Mr Build Co. runs bathroom remodeling projects with the electrician, tile setter, and project manager on one schedule, so your radiant floor gets installed correctly the first time, with permits pulled and resistance testing documented along the way.

Our estimates break out mat and thermostat cost, electrical labor, tile labor, and permit fees separately, so you know exactly what you’re paying for before work starts. If your renovation extends beyond the bathroom, our whole home remodeling team can fold radiant heat planning into a larger project scope from day one. Reach out through our bathroom remodeling page to schedule a walkthrough and get a written estimate for your space.
Sources
For deeper technical detail beyond this guide, WarmlyYours’ installation breakdown covers flooring compatibility rules in depth. HomeAdvisor’s cost guide offers broader national pricing context, and D and G Flooring’s guide walks through sensor and electrical best practices. For a side-by-side look at system types, Coastal HRLI’s comparison is a useful independent reference.
- Bathroom Floor Heating: How Much It Costs and How to Install (2026)
- Heated bathroom floor installation cost – HomeAdvisor
- Heated Bathroom Floors: Cost, Types & Is It Worth Installing? (2026)

